User Group Edition - installation and setup on Debian 12
Special features of the Cortex-IP environment
The Cortex-IP takes a different approach compared to many conventional systems. For each data inventory that needs to run simultaneously on a machine, a dedicated instance of the CortexEngine (ce-ue) is started. Each of these instances is active on a separate TCP/IP port, and a separate service must be set up in systemd for each data inventory.
Although this approach involves a slightly higher installation effort, it offers the advantage that the instances can run completely isolated from each other. At the same time, elements can be linked via references, allowing similar data inventories in different versions to be related. Even different release levels of individual instances can be realized, distinguishing this approach from conventional methods and enabling greater granularity and isolation at the data management level.
Overall requirements
Required knowledge
- general use of the command line
- editing files using a text editor of your choice
- understanding of user rights management in Debian 12
Supported operating systems
Debian 12\ 64-Bit AMD/Intel (qcow2, raw)\ 64-Bit ARM (qcow2, raw)
Required resources
- Cortex .par and .lic files
- Cortex-IP Server Debian package file (.deb)
- initial password for the remote admin
- optional: Uniplex plugin .xjz file
Required permissions
- access to administrative user rights (sudo) or the root user
Licensing
The license files with the .lic and .par extensions form the licensing system of your CortexInformation Platform.
- .par file:
- contains information about the issued license type and the license serial number
- .lic file:
- specifies the number of available users
- provides information about the license issuer
- defines plugin permissions
Installation and setup
Install Cortex Debian package
- place the .deb file in your file system
-
install the file using the package manager with the following command in the terminal:
cd /<file path>\sudo dpkg -i /<file name>
Once the installation is complete, the directories cip and cip-backup will be created, along with the user ctxserver and a corresponding group.
root@debian:/home/cortexuser# dpkg -i cipDemoDebian.deb
(Reading database ... 146388 files and directories currently installed.)
Preparing to unpack cipDemoDebian.deb ...
Unpacking cip60-deb12 (6021) over (6021) ...
Setting up cip60-deb12 (6012) ...
root@debian:/home/cortexuser#
- the binary files of the Cortex server are located in the directory
/cip/bin - place your .par license file in this directory
Setting up a Cortex-IP server instance
To set up a new instance, the file cip-mkdb must be executed. Run the file as follows:
sudo /cip/bin/cip-mkdb <Instance-Name> <Port> [-f/--force] <Par-File>
-
</Instance-Name>corresponds to the desired name of the new server instanceNote: The name must begin with "cip-".
-
<Port>(optional) Here, you can specify the port of the serverIf not provided, the port will be set to 29000 by default.
-
[-f/--force](optional) For a quick setup, enter-for--forceFor manual setup, leave this field empty.
-
<Par-File>(optional) Here, you can specify the .par license fileIf the license is not provided, it must be manually placed in the
/databinary directory of the instance later.
Quick setup
Example
To set up a server instance named cip-CTXIP, with port 3111, and a valid .par file named cortexdemo.par using Quick Setup, execute:
sudo /cip/bin/cip-mkdb cip-CTXIP 3111 -f cortexdemo.par
root@debian:/cip/bin# ./cip-mkdb cip-CTXIP 3111 -f cortexdemo.par HASSYSTEMD=1

creating new CORTEX-database environment:
             DBNAME = cip-CTXIP
             PORT = 3111

copying cortexdemo.par to /cip/cip-CTXIP/ctxserver.par
creating /cip/cip-CTXIP/ctxserver.ini
creating /etc/systemd/system/cip-CTXIP.service
Loading binaries for cip-CTXIP
- the new server instance is located in the directory
/cip/cip-CortexDemo - the program files are automatically created in the
/datasubdirectory - the directory
/cip-backup/cip-CortexDemomanages backups of the server instance
You are ready to start the new server instance.
Manual setup
Example
To manually set up a server instance named cip-Mike, with port 11295, and a valid .par file named /cortexdemo.par, execute:
sudo /cip/bin/cip-mkdb cip-Mike 11295 cortexdemo.par
- the new server instance is located in the directory
/cip/cip-Mike - the directory
/cip-backup/cip-Mikemanages backups of the server instance
root@debian:/cip/bin# ./cip-mkdb cip-Mike 4321 cortexdemo.par HASSYSTEMD=1

creating new CORTEX-database environment:

             DBNAME = cip-Mike
             PORT = 4321

is this ok? y/n (n)y
copying cortexdemo.par to /cip/cip-Mike/ctxserver.par
creating /cip/cip-Mike/ctxserver.ini
creating /etc/systemd/system/cip-Mike.service
- to generate the binaries of the server instance, run the following command:
sudo cip/<Instance-name>/ce-ue -N
Ensure that the instance's /data subdirectory is empty beforehand, as all contents of the directory will be deleted.
root@debian:/cip/bin# cd /cip/cip-Mike
root@debian:/cip/cip-Mike# ./ce-ue -N
sigint installed
sigquit installed
sigterm installed
sighup installed
sigio installed
sigpoll installed
server started with option "-N" for creating a new empty database
starting with uid: 0 bUserMode: 0
change dir to: /cip/cip-Mike
MaxServerThreads=200
ok! verify ctxserver.par
par file found for:

     -user: Developer License, Pleodat GmbH
     -serial number: 2011_E200
     -locationid: 1
     -version: 1.00
Executing the Command ce-ue -N
- the binary files for the server instance are automatically created in the
/datasubdirectory - the service script for the server instance is placed under
/etc/systemd/system
You are now ready to start the existing server instance.
Start existing server instance
Start the configured server instance using the system manager.
- run the following command:
systemctl start <Instanz-Name> -
for the server instance
cip-Mike, the entry is as follows -
to stop the service at any time, use
systemctl stop <instance-name> -
to start the service at system startup, change the service parameters of the IP server with the command
systemctl enable <instance-name>
Note
If autostart is not activated, the service must be restarted each time the system is restarted. To do this, execute the commandsystemctl start again.
Setting up the Cortex-IP server
-
to start the Cortex-IP server, it must be launched using the system manager. Execute the following command
systemctl start cip-webserver -
to stop the service at any time, use:
systemctl stop cip-webserver -
To have the service start automatically on system startup, use the following command
systemctl enable cip-webserver
Note
If autostart is not enabled, the service must be restarted after every system reboot by re-running the systemctl start command.
The files ctxhttpd.ini and ctxhttpd.log are located in the /cip/httpd directory.
The IP server uses ports 80 and 443 (SSL) by default. To use different ports, you can modify the corresponding parameters in the ctxhttpd.ini file under the [HTTPSRV] section:
[HTTPSRV]
Port=80
SslPort=443
BindOnlyLocalHost=0
SslCertPem=localhost.pem
LogHttpSrv=1
usingPhp8=1
Configuring virtual hosts
To make the instance available on the web server, the vhosts configuration must be updated:
- open the
ctxhttpd.inifile - locate the vhosts section in the document
- add the name of the server instance created in the installation guide to the list, separated by a comma
-
ensure that there are no spaces between the comma and the instance name. Example: To add a server instance named
CortexDemoDb: -
copy the following
vhostconfiguration into thectxhttpd.inifile: -
replace
[Instance-Name]with the name of the instance to be configured (including thecip-prefix) - enter the server address and port for the instance in the
CtxSrvfield -
insert the modified configuration below an existing configuration:
Configuring the Cortex-IP server with Remote admin
To connect to a running server instance, you can use the Remote admin.
Opening the Remote admin
- ensure that the program is executable
- start it with the following command:
sudo ./cip-admin
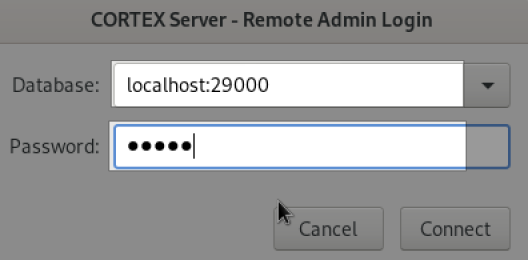
Important
The Remote admin UI requires the following entries:
- server address (e.g., localhost)
- port for the server instance (e.g., 29000)
- initial password for the Remote admin (e.g., admin)
Example
Importing the license file
- click the button License in the Remote admin
-
import the .lic file
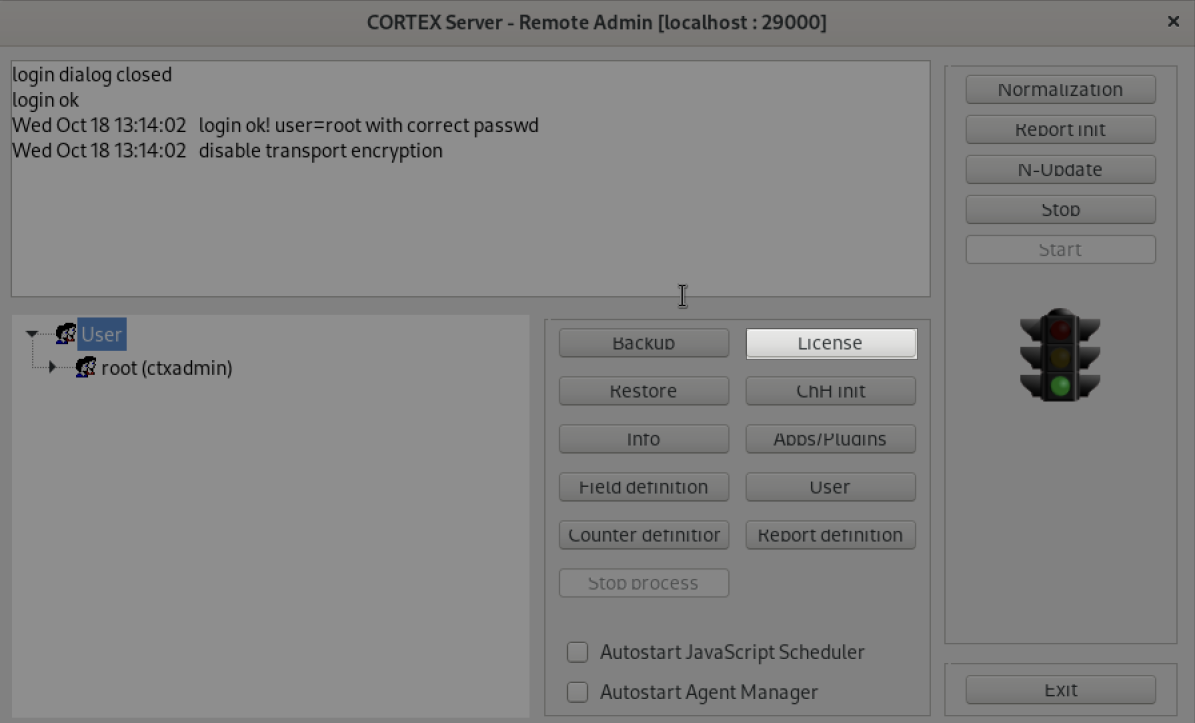
License button in the Remote admin*
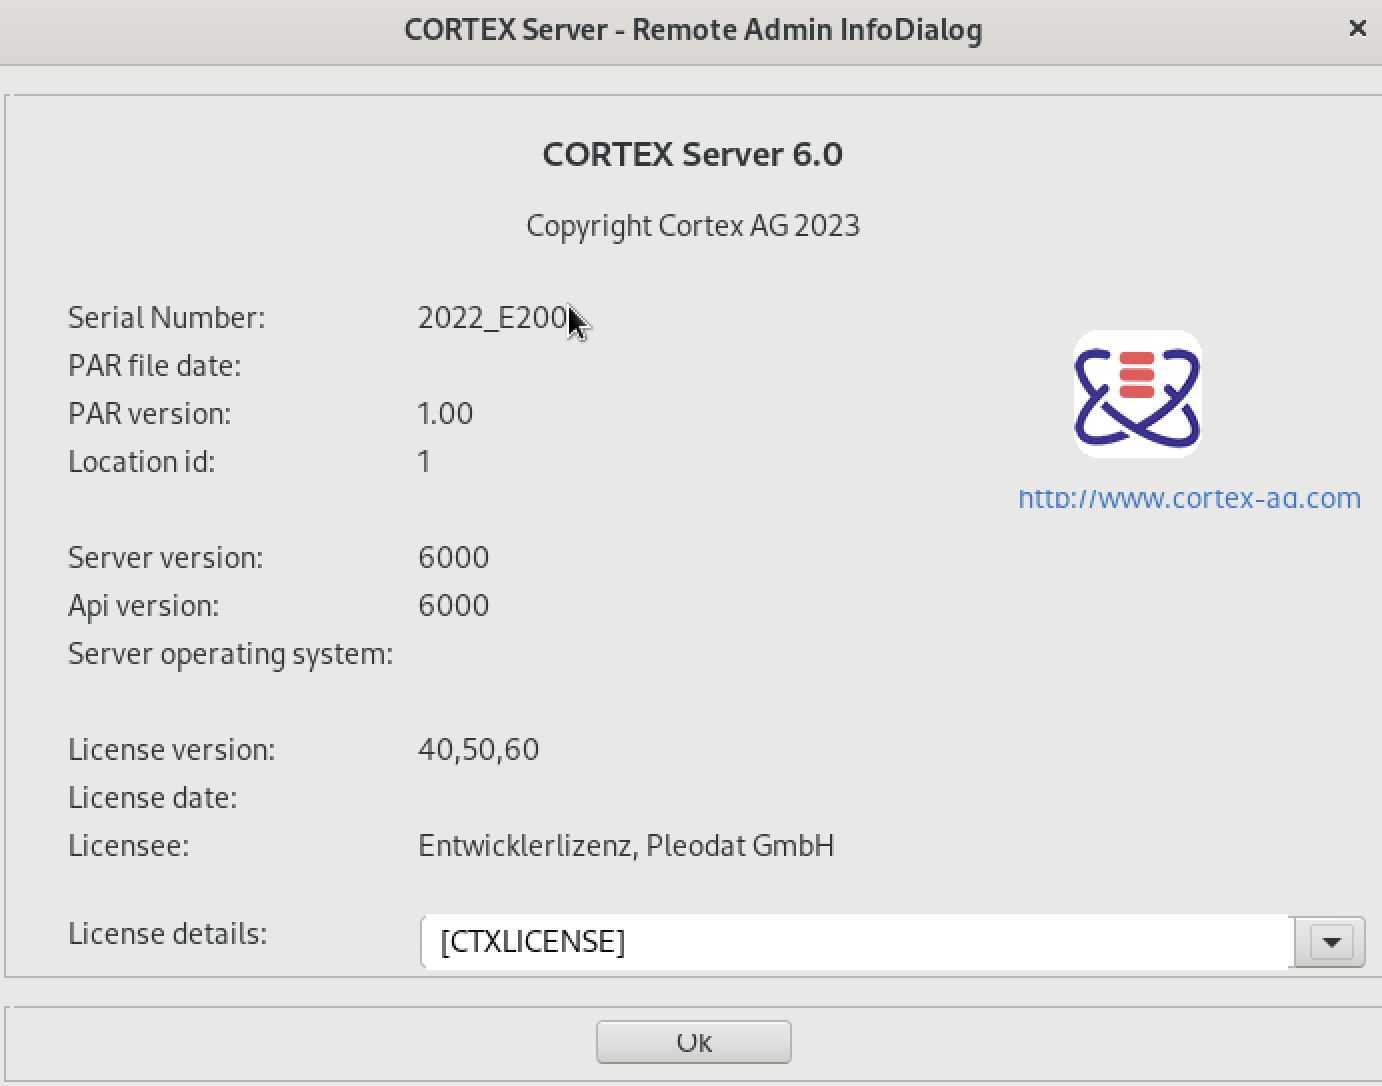
Info page of the Remote admin
Creating and importing backups
Creating a backup
- open the Remote admin
- click the button Backup
-
select whether the backup should be created for your serial number
The backup is saved as a
.cbzfile in the/cip-backupdirectory.
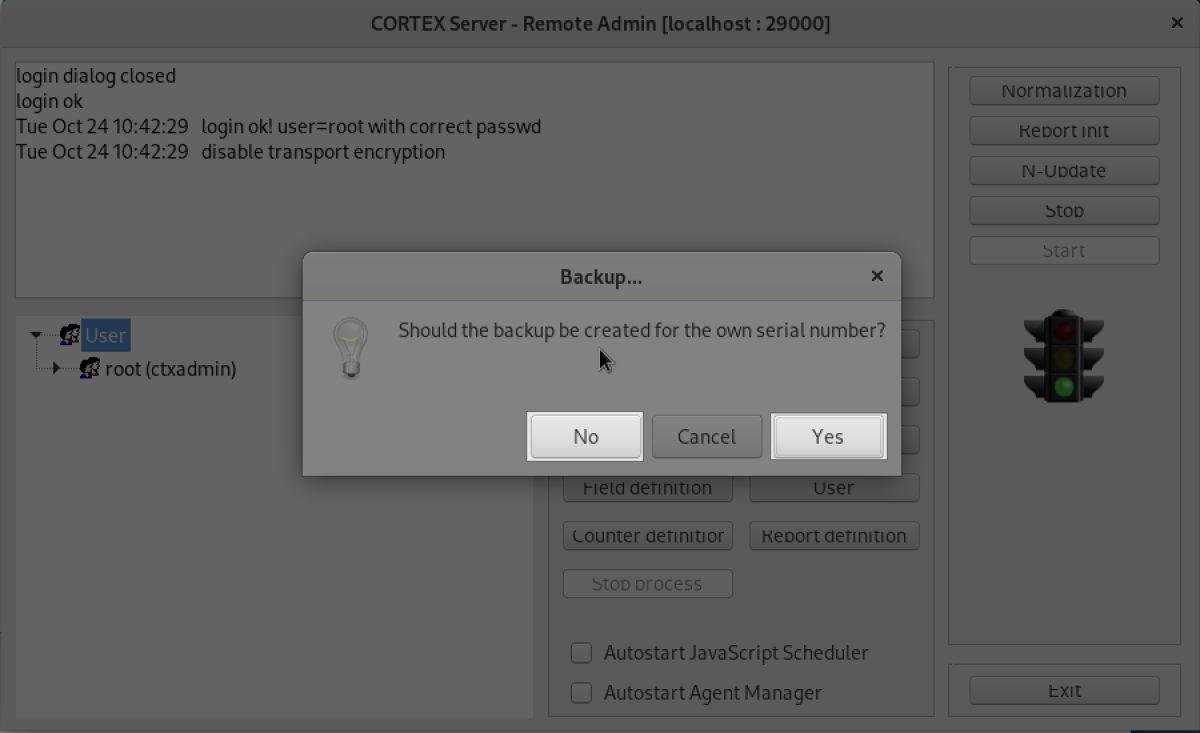
Create a backup in Remote admin
Importing a backup for an instance
- open the Remote admin
- click the button Restore
- select the desired backup file from the
/cip-backupdirectory in the Remote admin - confirm your selection
- in the dialog that opens, click the button ok
- click the buttons Stop and Start in the Remote admin to restart the server
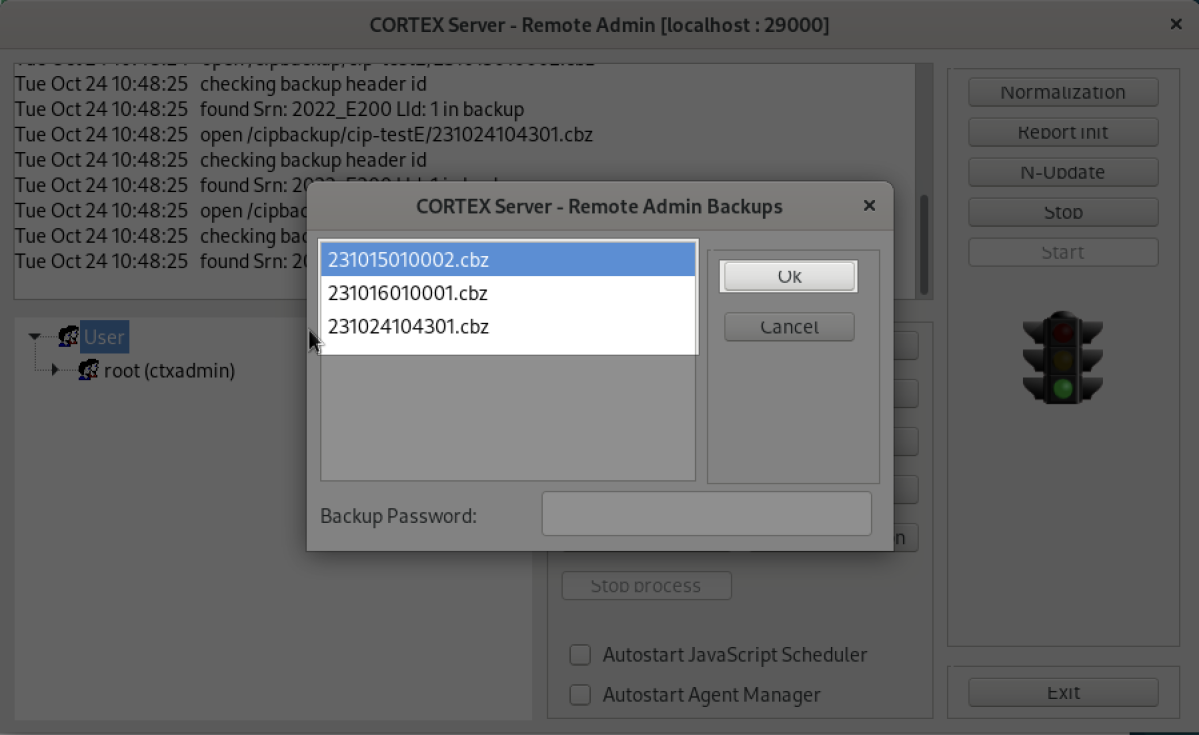
Import backup in Remote admin
Creating user accounts
To use the IP server, user accounts must be created and permissions must be assigned to them.
PHP user
- click the button User in the Remote admin
- add a user named php by clicking the button New
- set a password of your choice
- grant this user the
ctxphppermissions by selecting the checkbox in the right-hand window - click the button Ok
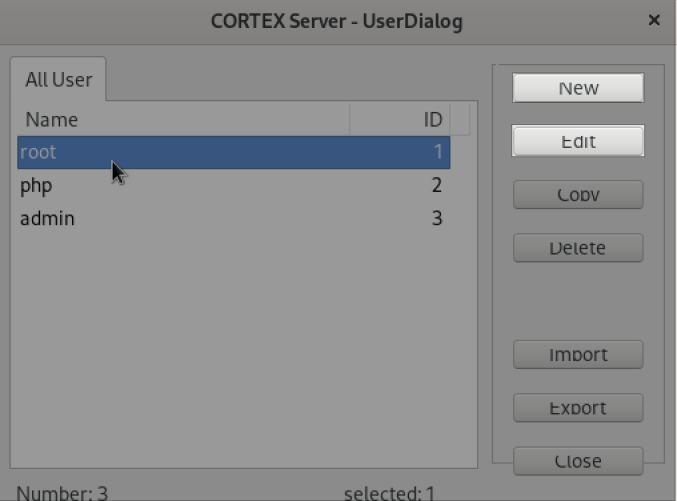
Root user
- select the user
rootand click the button Edit -
change the password to one of your choice
This password replaces the initial password of the Remote admin and will be used as the login password of the Remote admin.
-
click the button ok
Administrative user
- click the button New and create another user
- assign a name, password, and ID to this user
- assign the following rights:
Uniplex,UniplexAPI,ctxjst,ctxjssandCtxBrowserby clicking the checkboxes of the same name - click the button ok
- click the button close
You can create additional users and assign corresponding user rights.
Setting up Uniplex
To access the server via a browser, the Uniplex plugin can be installed:
- open the Remote admin
-
click the button Apps/Plugins
The following window opens:
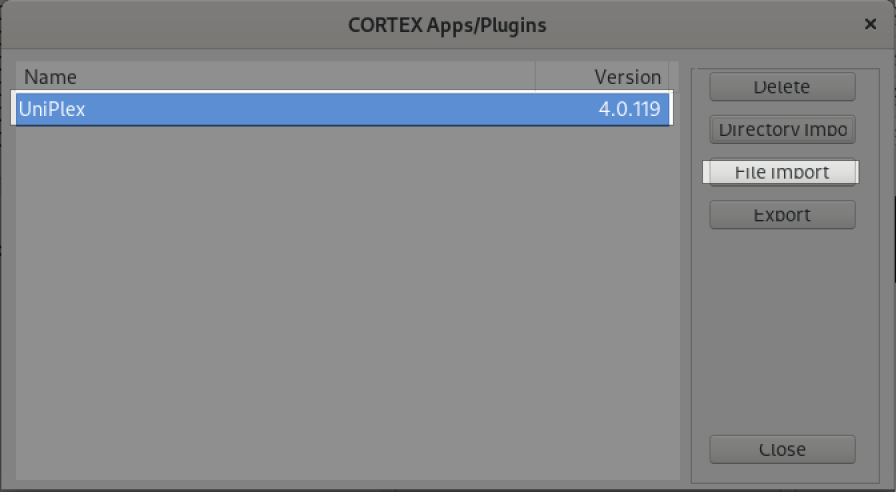
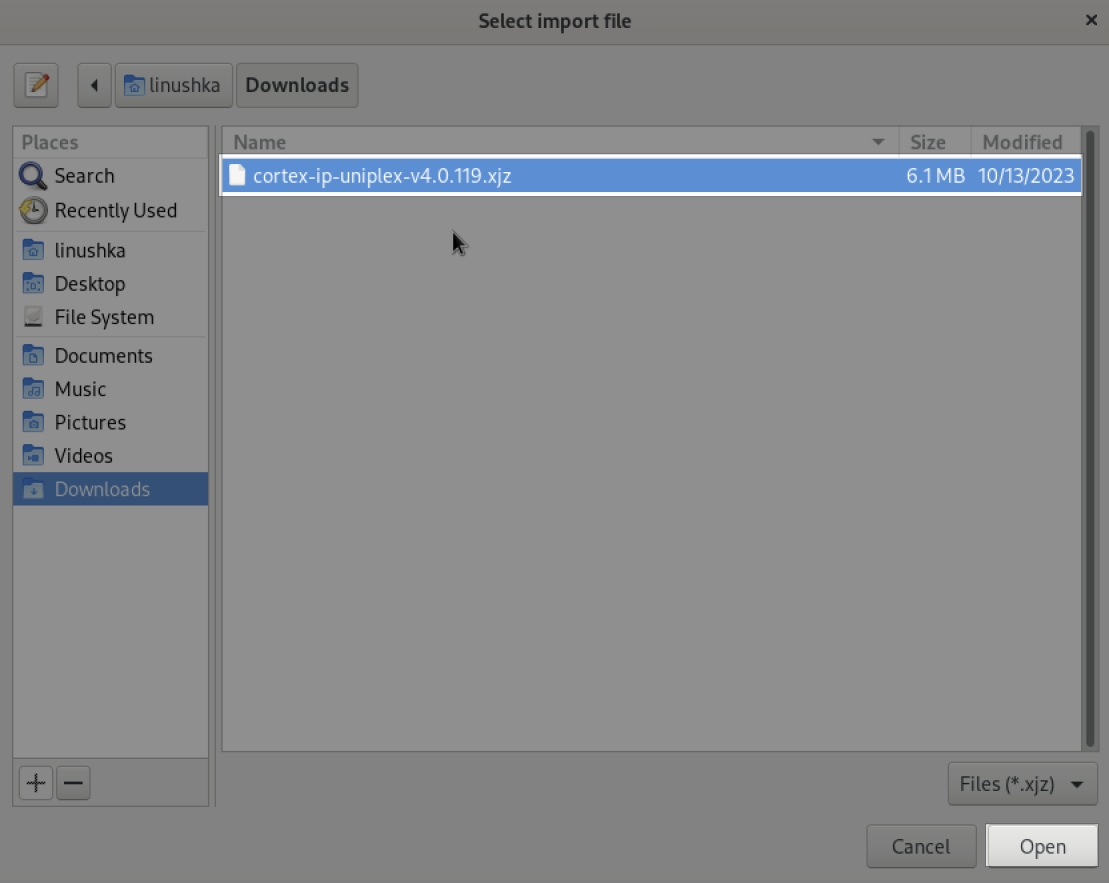
-
click the button File Import
-
select the stored Uniplex.xjz file
After the Uniplex plugin has been installed, it appears in the Apps/Plugins window.
-
copy the name of the plugin displayed there
Pay attention to case sensitivity when copying the plugin name.
-
open a browser of your choice and enter the following in the address bar:
<ServerAddress>/<Instance-Name>/i/<Uniplex-Name>/index.php -
add the respective access data of the administrative user you have created as name and password in the section creating user accounts
-
click the button Login
The following login page will be displayed:

Troubleshooting
Problem solving
| Errors | Possible causes | Possible solutions | |
|---|---|---|---|
| file cannot be installed via Package Manager | user has no administrative rights | execute command with root user or with administrative password | check spelling of command |
command cip-mkdb cannot be executed |
write and execute permissions not granted | grant write and execute permissions or try `sudo cip-mkdb | |
command cip-mkdb does not execute correctly |
name or port not entered or entered incorrectly | instance name begins with prefix cip-, check entries for correct spelling | |
command sudo ce-ue -N does not execute correctly |
subdirectory in basepath of ctxserver.ini file is not empty |
delete contents of subdirectory in basepath and execute sudo ce-ue -N again |
|
database does not start after systemctl start <instance name> |
database is not loaded correctly | Ensure that the file directory in the basepath of the ctxserver.ini file contains the required binary files. If not, see next line |
|
systemctl start <database-name>: Service unit not found |
database directories were not created correctly | Check write and execute rights of all users for /cip/<database-name>/ctxserver.ini. Delete the database and create again with sudo ce-ue -N. Run sudo systemctl start <instance name>. |
|
| Remote admin cannot perform login | login credentials do not match | check the spelling of the password and ensure that the server address and server port are entered correctly in the format <server address>:<server port> |
|
| Remote admin cannot establish a connection to the database | database has not been started or is no longer running | ensure that the instance has been started and is running: systemctl start <instance name> |
|
server instance cannot be mapped in the browser: <server address>/<instance name>/i/<UniPlex name>/index.php cannot be reached |
server instance or IP server are not running correctly | restart the instance and the IP server with sudo systemctl start <instance name> and sudo systemctl start cip-webserver and refresh the browser window |
|
| browser login cannot be performed | login credentials have been entered incorrectly | Check the user's login details in the Remote admin under User: click the user to be logged in and then the button edit. Copy the login details from there and try again. |
FAQ
| Question | Answer |
|---|---|
| How do I get the required files? | The required license and password files as well as the Debian Cortex file can be purchased at www.cortex-ag.com. If you are missing files, please contact your Cortex contact person or write an e-mail to cortex-info@cortex-ag.com. |
| I have a problem with the installation and can't get any further. | If the troubleshooting does not help you, please contact cortex-info@cortex-ag.com or your Cortex contact person for further support. |